

Table of Contents
Introduction: Why Build a Custom PC Instead of Buying Prebuilt?
As daunting as the process of assembling your own custom PC may appear to be, it is certainly one of the most fulfilling pieces of technology work you can work on. Being either a gamer, a creator, or simply desiring improved performance, by creating your own PC, you have everything under control regarding what materials you put inside the machine.
As opposed to purchasing a prebuilt rig, you are able to select specific parts that you require with a custom PC, depending on your desired performance and budget. This implies that you do not have to use much of the money on unneeded capabilities and and you can, in general, purchase more power with your cash. In addition, it will be easier to upgrade and fix later.
We are going to take you through all you need to know, starting with purchasing the right parts and tools, to building your PC, to the workspace software installation on your PC. You do not need any experience. You will end up with not only a powerful custom PC, but the ability to diagnose and fix it on your knees.
So here we go.
1. Plan Your Build — Define Your Budget and Purpose
Before purchasing even one component, you have to determine the reason behind creating a custom PC. Do you need a fast computer to play games that require a fast frame rate, video editing units that require large processing power, or simply a fast computer just to use in routine tasks? All the components you select will be based on your objectives. The realistic budget should also be planned.
Regardless of whether you want a rock bottom budget-friendly, mid-range, or a premium high-end build, it is important to create a balanced system that has no bottlenecks, such as an incompatible powerful graphics card, and a weak point in the system, such as a weak CPU. It is wise planning and prevention in the pocketbook and time spent.
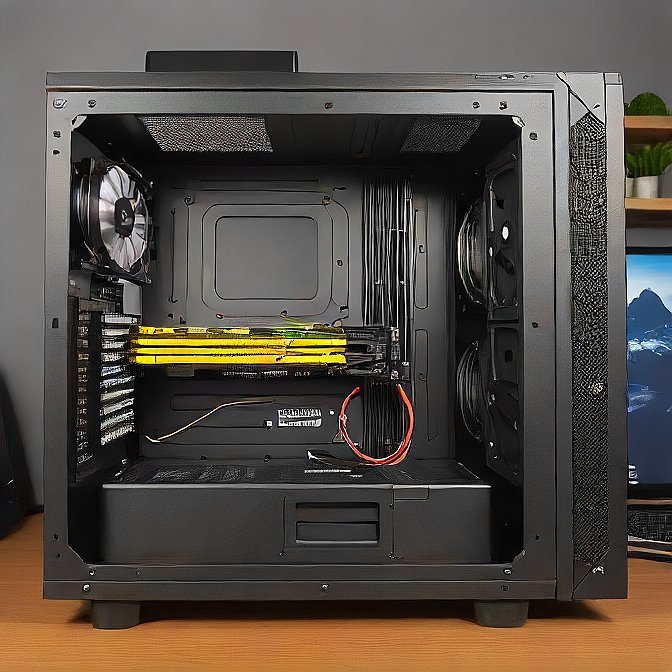
2. Choose the Right Components — What Goes Inside a Custom PC
A built-on PC consists of significant elements that are cooperative. These are the CPU (brain of the PC), GPU (graphics card to display), the motherboard (connects everything), RAM (short term memory), some storage (SSD or HDD to store files), and power supply unit (PC SE), PC case (holds everything), and a cooling system. All of the parts must be compatible with each other, verily the CPU and the motherboard. Selecting the components that will be compatible will result in stability and maximum performance.
3. Where to Buy — Trusted Sites for PC Parts in 2024
After you have decided on the needs, it is time to purchase the materials. Amazon, Newegg, and Micro Center are trusted retailers, so it is a great place to start. Discounts or bundled deals can be very common when you can save money. buying used parts. On the other hand, folks who happen to be open to used parts ought to insist on buying through reputable sellers and ensuring the warranty status. In order to prevent making errors, it is recommended to use such resources as PCPartPicker to guarantee that all the parts you choose can work together.
4. Get Your Tools Ready — Don’t Start Without These
Gather the correct tools and make a safe working space prior to construction. It requires a screwdriver and an anti-static wrist has proved to be useful to prevent machinery damage due to static electricity. There are builds that may need thermal paste. Ensure the location of your workplace is clean without carpet flooring. Removing everything, reading the manuals prior to the build will allow you to prevent damaging the costly components in the process.
5. Build Time — Step-by-Step Assembly Process
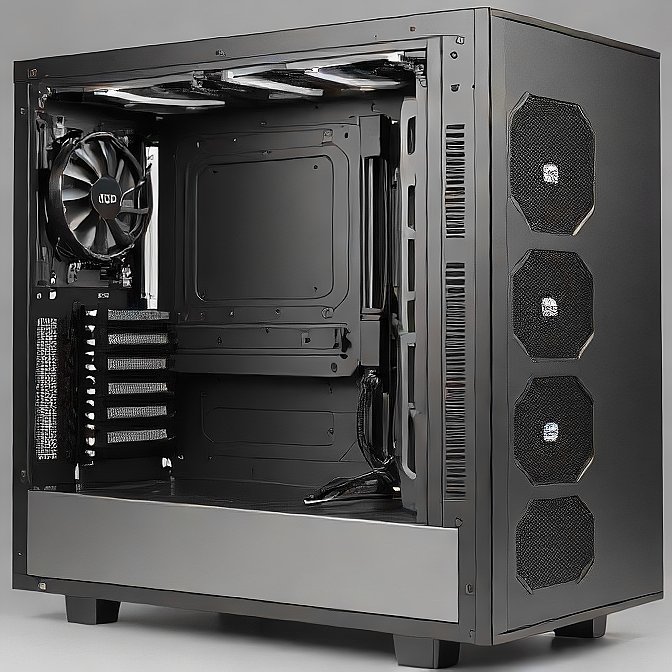
The installation of the motherboard that requires CPU and RAM comes first in the real building process. After that, insert the motherboard into the PC case. Then you will proceed to plug in the power supply, fit your GPU and storage drives, and then handle all cables properly so that you achieve good airflow. You will also have to make a connection of the case fans and the connection of the front panel ports, such as the USB ports and the power button. Do it slowly and with the guidance of a step-by-step instruction not to miss anything.
Check Out: How to Choose the Best Smartwatch for Your Lifestyle.
6. Power On and Test — Does It Boot?
The initial boot is a major event after the construction. You will then wish to turn it on and see whether all the components turn on and kick into the BIOS screen. It is at this point, though, that you can verify that you have the CPU, RAM, and drives being identified by the computer. Or, in the case that it is not successfully booting or does not display anything, recheck all cable connections, reseat your RAM and GPU, and ensure that the power supply is in power-on. It is natural to have some trouble shooting.
7. Install the Operating System and Drivers — Bring Your PC to Life
Install an operating system such as Windows or Linux on your PC with a bootable USB pen drive to make your PC usable again. After installing it, you can download and install your motherboard drivers, graphics card drivers, and also those of other parts. This will make your equipment work correctly. There are also chances of you upgrading your BIOS to get high performance or compatibility. Last, but not least, make sure that during loading, it goes well with the use of stress testing tools.
8. Customize Your Experience — Make Your Custom PC Truly Yours
Since you have made your PC work, now it is possible to customize it. Add an RGB lighting system, optimise the fan curves to be quieter, or mount side panel mods to make it look special. The obligatory programs, such as antivirus software, temperature monitor, and your apps of choice, should be set up. Installing the backup software will also save you some time in the future in case anything happens.
9. Tips for Maintenance — Keep Your Custom PC Running Smoothly
Even the PC that is well constructed requires some maintenance. Dust should be cleaned once every few months to avoid overheating. You should replace the CPU thermal paste after one or two years to cool it. Monitor the system temperature and fan speed with the help of programs. Your needs may adjust, giving the possibility to upgrade the parts, such as an increase in RAM or the size of SSD, without reassembling the entire system.
10. Troubleshooting Basics — What to Do When Things Go Wrong

In case there are issues, keep your head cool and approach the issues in a logical manner. There are general problems such as failing to boot up, overheating, etc., or driver conflicts. First, ensure that all connections of your hardware are tested and replace one element at a time, and examine any new software updates. In case this issue does not help, community forums and the assistance of the manufacturer can provide further advice. Do not be afraid to ask a professional when you are not sure how to proceed with something; it is always better than damaging something.
Conclusion:
The first thought that strikes when it comes to developing a personal PC is that it is an intimidating task, but with the correct direction, it is a fascinating and fun time. Whether you want to build a high-performance gaming PC or a work PC that produces content or performs any other everyday tasks, comprehending all the steps involved, starting with the planning and going up to switching on the PC, will help you take full control of performance, design, and budget.
A custom PC gives you the unique chance to select each part by yourself, so you can make sure that your machine will perfectly suit your specs without wasting extra money on the components you do not need. And it will also impart some great skills into healthy, letting you know how to approach it with respect to hardware, troubleshooting, and upgrading skills that you can use for years.
Begin with the basics, do it at your own pace, and more importantly, remember the fact that every year millions of individuals construct their own PCs. You can do it.
For more info: Click Here.
FAQs
1. Does it cost less to create a PC instead of a prebuilt PC?
Very often, yes, particularly when you already have such peripherals as a monitor, keyboard, and a mouse. You get more value purchasing the components that do not include any unwanted extras or branding, paying only for things that exactly suit your requirements.
2. What is the time Lag that is involved in building a custom PC?
In the case of a novice, 2-4 hours is the estimated time, depending on how well you are aware of the parts. Tag your time-It is better to take time and end up not making any mistakes than to rush it.